Managed Guest Sessions
Step 1: Access Managed Guest Session
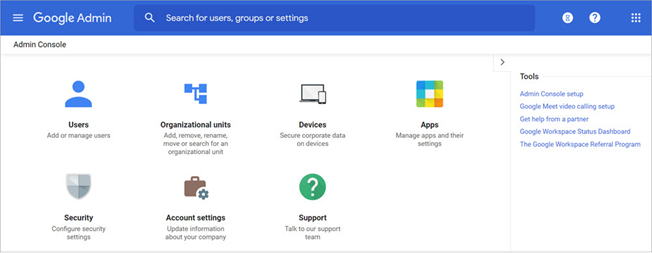
- Log in to your Google Chrome Management Console.
- Click on "Devices".
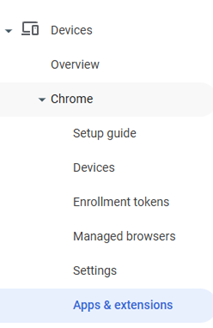
- Click on "Apps & extensions" under the Chrome tab to your left.
Step 2: Choose Organizational Unit
- Select the correct organizational unit that you want to apply the change to.
- Click on "Managed guest sessions".

Step 3: Add Extension
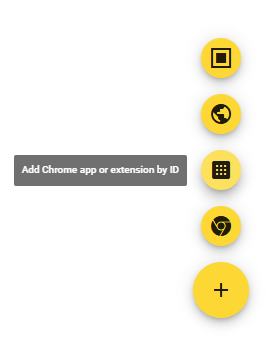
- Click on the yellow “+” button at the bottom right corner.
- Select “Add Chrome app or extension by ID.”
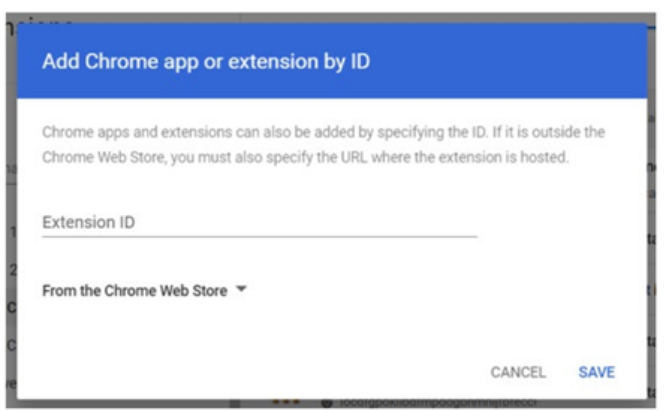
c. Enter the following extension ID:
objafjdlhkpglojmhplfeijpojcepoah
Step 4: Configure Managed Guest Session Settings
- Go to: Devices → Chrome → Settings → Managed Guest Session Settings
- Under General → Manage guest sessions:
Set “Allow Managed Guest Sessions” to “On”
This setting ensures Chromebooks in this organizational unit can launch Managed Guest Sessions.
- Set session name:
Suggested session name: “PCAP Testing”
This name will appear on the Chromebook login screen so that staff know it’s the testing session.
Step 5: Set up the Startup Page
- Go to: Startup → Pages
- Startup action: Select "Open a list of URLs"
- Startup pages: Add the following URL
https://pcap-ppce.vretta.com/#/en/login-student-id
This setup ensures that the Chromebook automatically opens to the PCAP testing sign in page as soon as the session starts. No manual navigation is required.
Step 6: Confirm Installation
- The Assessment Lock Plus application should now appear on your primary device in your settings.
- Please note that the Assessment Lock Plus extension is only meant to lock the page of the assessment once students have entered the access code.
- To exit Assessment Lock Plus, use the button in the top left corner and enter the EXIT password:
You have successfully installed the Assessment Lock Plus application. No further steps are required at this time. Students must enter the PCAP test url (www.cmec.ca/pcap-test) to access the assessment on the day of administration. Please see On Assessment Day for more information.